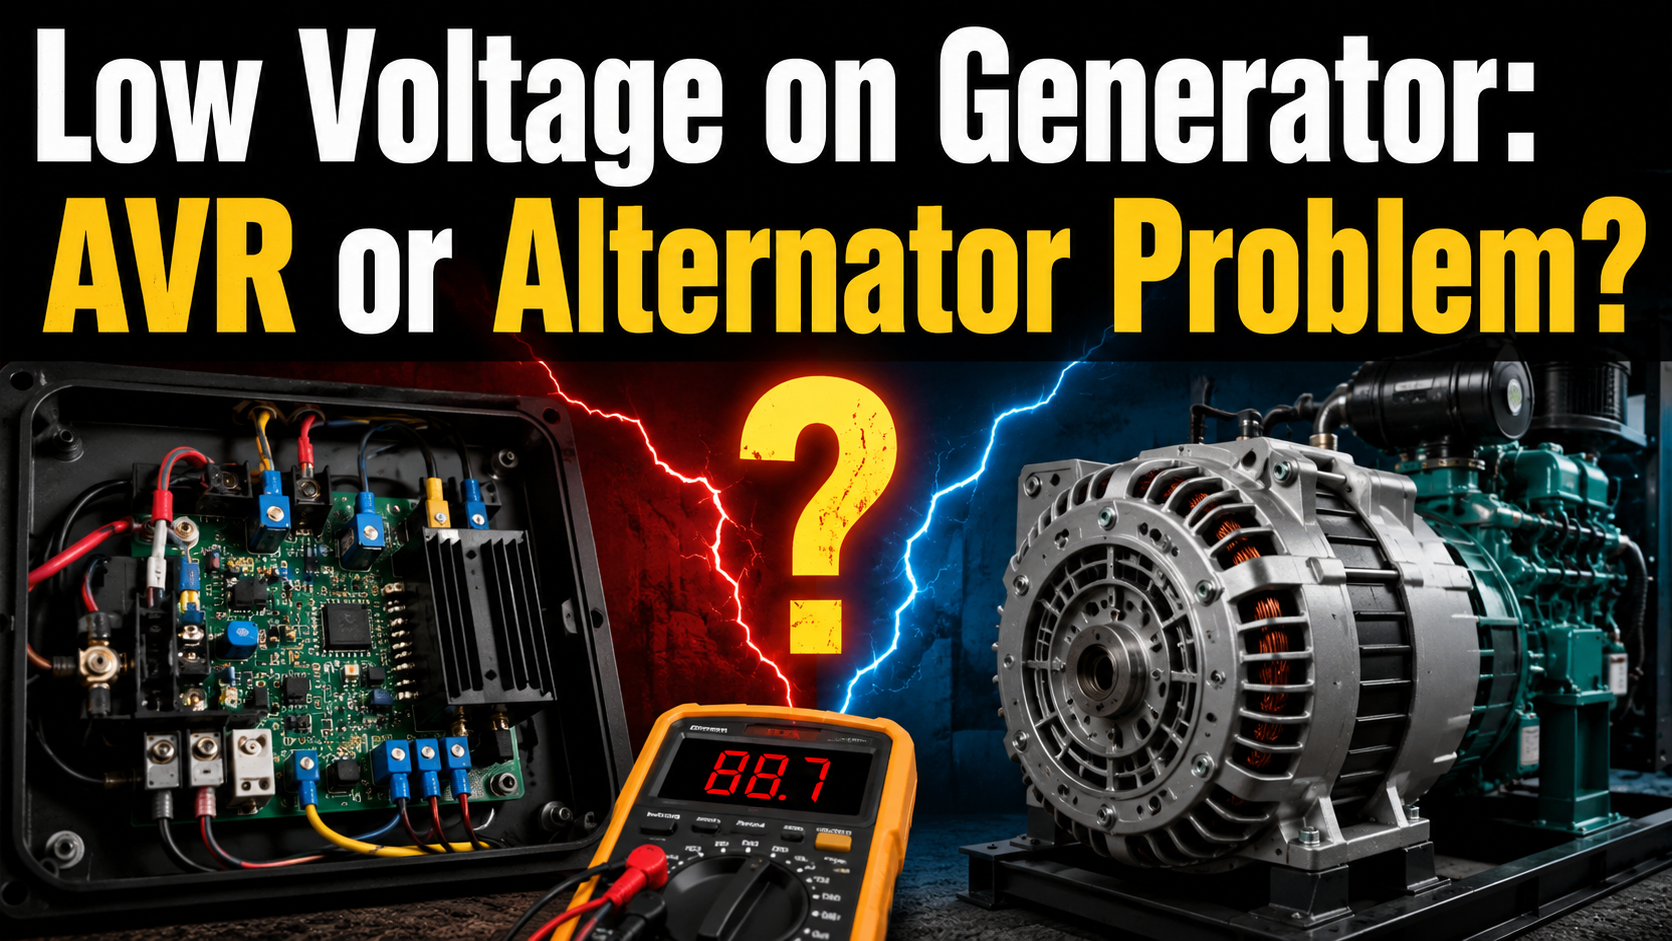
Low Voltage on generator output can be a frustrating experience, particularly when valuable equipment is not operating during a power outage. This leads many technicians and facility managers to immediately assume that the Automatic Voltage Regulator (AVR) is to blame. But here’s the thing: a low output voltage does NOT necessarily mean the AVR is dead.
It can be caused by engine speed, frequency drops, heavy electrical load, poor wiring, weak alternator excitation circuits or internal alternator faults, all of which can produce the same symptoms. Guessing which part is broken usually results in wasting time and money replacing parts that aren’t actually broken.
There is a step-by-step testing procedure to follow that begins with basic external checks, such as verifying engine RPM and load demand, before you strip the alternator or swap out the AVR.
In this article by Huaquan, you will learn how to systematically diagnose low generator voltage and confidently pinpoint whether the fault lies with the AVR, the engine, the load, or the alternator itself.
What Is Considered Low Voltage on a Generator?
A generator has a specific rated output, such as 120V, 240V or 480V, stamped on its nameplate. Low voltage is typically any output that falls well below this rating. When making the diagnosis, you need to distinguish:
- Minor calibration issue: voltage is a few volts low and stable (easily corrected by adjusting the AVR)
- A serious voltage loss: the generator is operating at 180V instead of 240V, or is producing only a tiny residual voltage (e.g. 5V to 15V)
- Permanent undervoltage vs. momentary voltage drop: is it low all the time, or does it drop only when a large motor starts up?
- No-load voltage vs. full-load voltage: does the voltage crash only when the facility connects to it?
- Low voltage on one phase vs. all phases: do all three phases have low voltage, or is only one affected?
Common Symptoms of Low Generator Voltage
If you don’t have a digital display on your generator, you’ll usually notice the physical symptoms of undervoltage first:
- Dim, yellowing or violently flickering lights
- Electric motors humming loudly but failing to start
- Magnetic contactors chattering or dropping out
- Battery chargers or UPS systems rejecting the generator power
- Facility equipment overheating from drawing excessive current to make up for low voltage
- Tripping of the generator’s main output breaker
- A Low Voltage alarm on the digital controller
- Normal voltage without a load, but very low voltage the moment a load is applied
- Imbalanced voltage readings between the phases
Main Causes of Low Voltage on Generator Output
Low voltage causes generally fall into five categories, making Troubleshooting easier:
Engine and Speed-Related Causes
- Low engine RPM
- Incorrect mechanical or electronic governor setting
- Blocked fuel supply
- Dirty fuel or air filters starving the engine
- Severe engine overload
- Unstable, surging engine speed
Load-Related Causes
- Generator physically overloaded beyond its kW capacity
- Excessive motor-starting current (inrush)
- Extremely poor power factor
- Severely unbalanced three-phase load
- A direct short circuit or damaged connected facility equipment
Wiring and Control Causes
- Tripped secondary exciter breaker
- Loose main terminal connection
- Incorrect voltage selector switch position
- Faulty reconnection of the alternator (e.g. wired for Wye when it should be Delta)
- Damaged or severed AVR sensing wire
- Corroded wiring connector
- Faulty analog panel meter giving a false reading
AVR and Excitation Causes
- Incorrect VOLT trimmer setting on the AVR
- Completely faulty AVR board
- Loss of sensing voltage to the AVR
- Insufficient AVR power supply (from the PMG or auxiliary winding)
- Underfrequency protection intentionally active (cutting voltage due to low RPM)
- Damaged exciter circuit
- Complete loss of residual magnetism
Alternator Causes
- Failed exciter diode in the rotating rectifier assembly
- Damaged main rotor winding (short or open)
- Damaged main stator winding
- Internal ground fault
- Shorted turns inside the copper windings
- Worn brushes or dirty slip rings (on brushed alternator models)
- Severe moisture or dirt contamination in the windings
AVR or Alternator? Quick Symptom Comparison
Use this quick-reference table to help guide your diagnosis. Remember that symptoms guide diagnosis but don’t necessarily prove which component failed.
| Symptom | More Likely AVR/Sensing | More Likely Alternator | Other Possibility |
| All phases equally low | Yes | Possible | Low engine RPM |
| One phase low | Less likely | More likely | Loose terminal connection |
| Voltage fluctuates wildly | Possible | Possible | Engine governor problem |
| Voltage normal without load | Possible | Possible | Severe facility overload |
| Very small residual voltage (5V-15V) | Possible | Excitation fault | Loss of residual magnetism |
| Frequency is also low | No | Usually no | Engine speed problem |
| Visible burn marks on board | Strong indication | No | Loose wire connection |
| Unequal winding resistance | No | Strong indication | Multimeter testing error |
Test Frequency Before Blaming the AVR
Why Frequency Matters
In a standard AC generator, frequency (measured in Hertz or Hz) is directly linked to the mechanical speed of the engine. Low engine speed directly causes both low frequency and low voltage. Nearly all modern AVRs also feature built-in Underfrequency Roll-Off (UFRO) protection, which reduces the excitation voltage to protect the alternator when the frequency drops below a set threshold.
How to Interpret the Readings
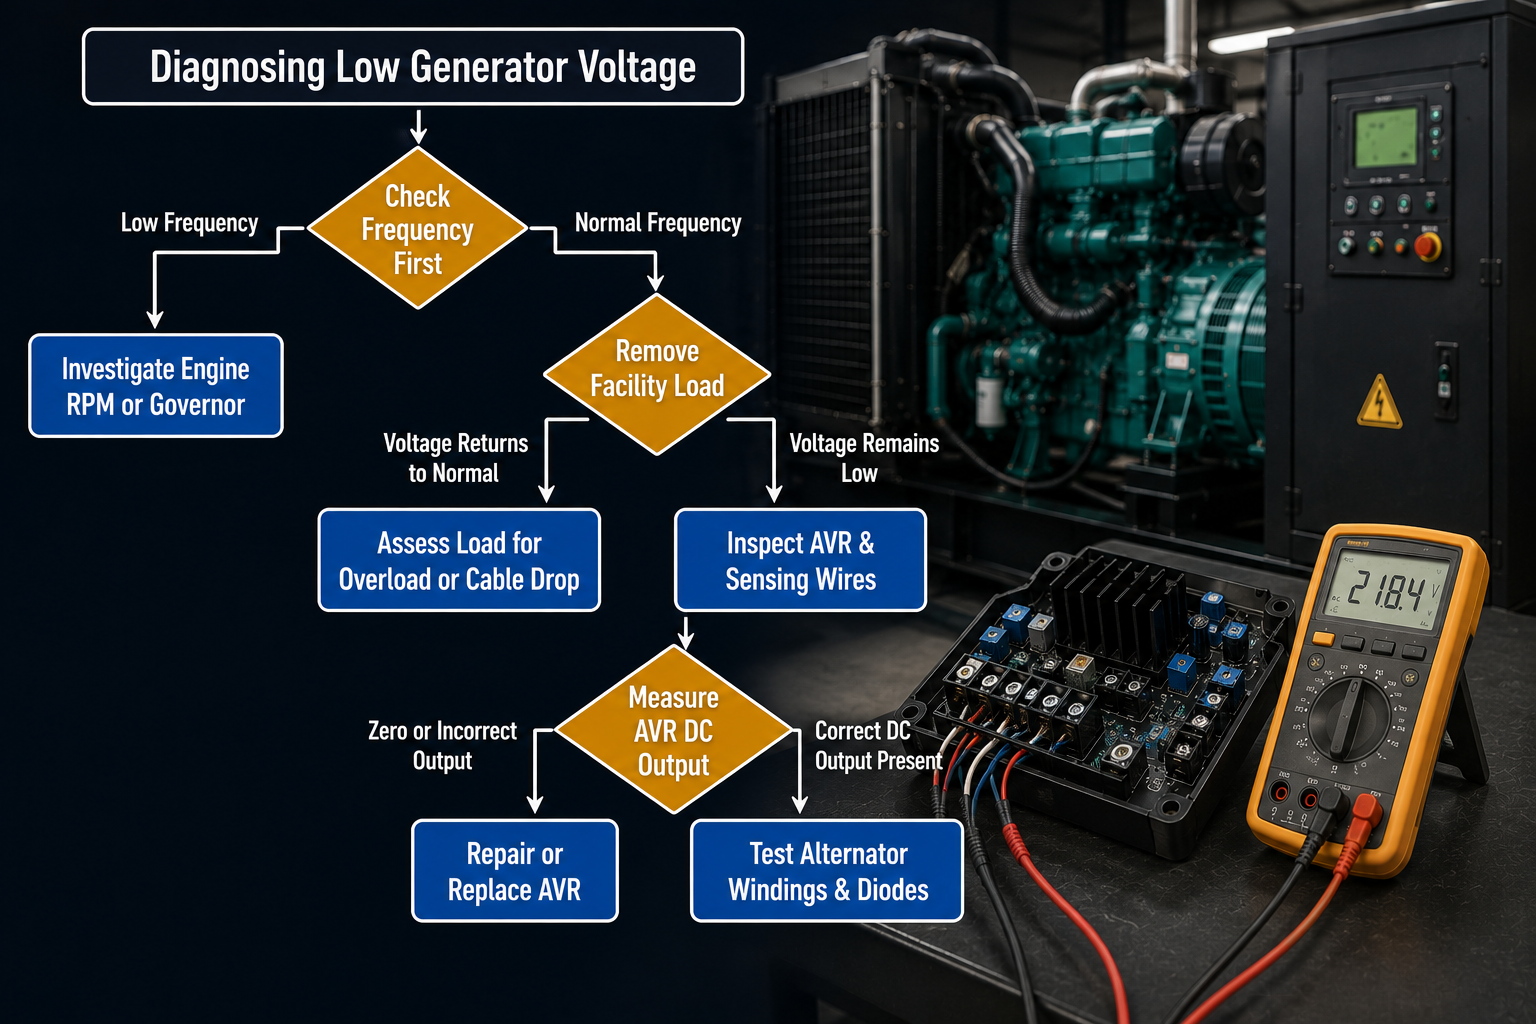
- Low voltage plus low frequency: stop looking at the electrical components. Investigate the engine, the governor, the fuel system or a massive facility overload first.
- Low voltage plus normal frequency: the engine is fine. Continue with AVR, sensing, excitation and internal alternator tests.
- Normal no-load readings plus poor loaded readings: check for facility overload, insufficient engine horsepower under strain, poor cable connections or exceeded alternator capacity.
Step-by-Step Diagnosis for Low Voltage on Generator
Step 1: Confirm the Reading with a Reliable Meter
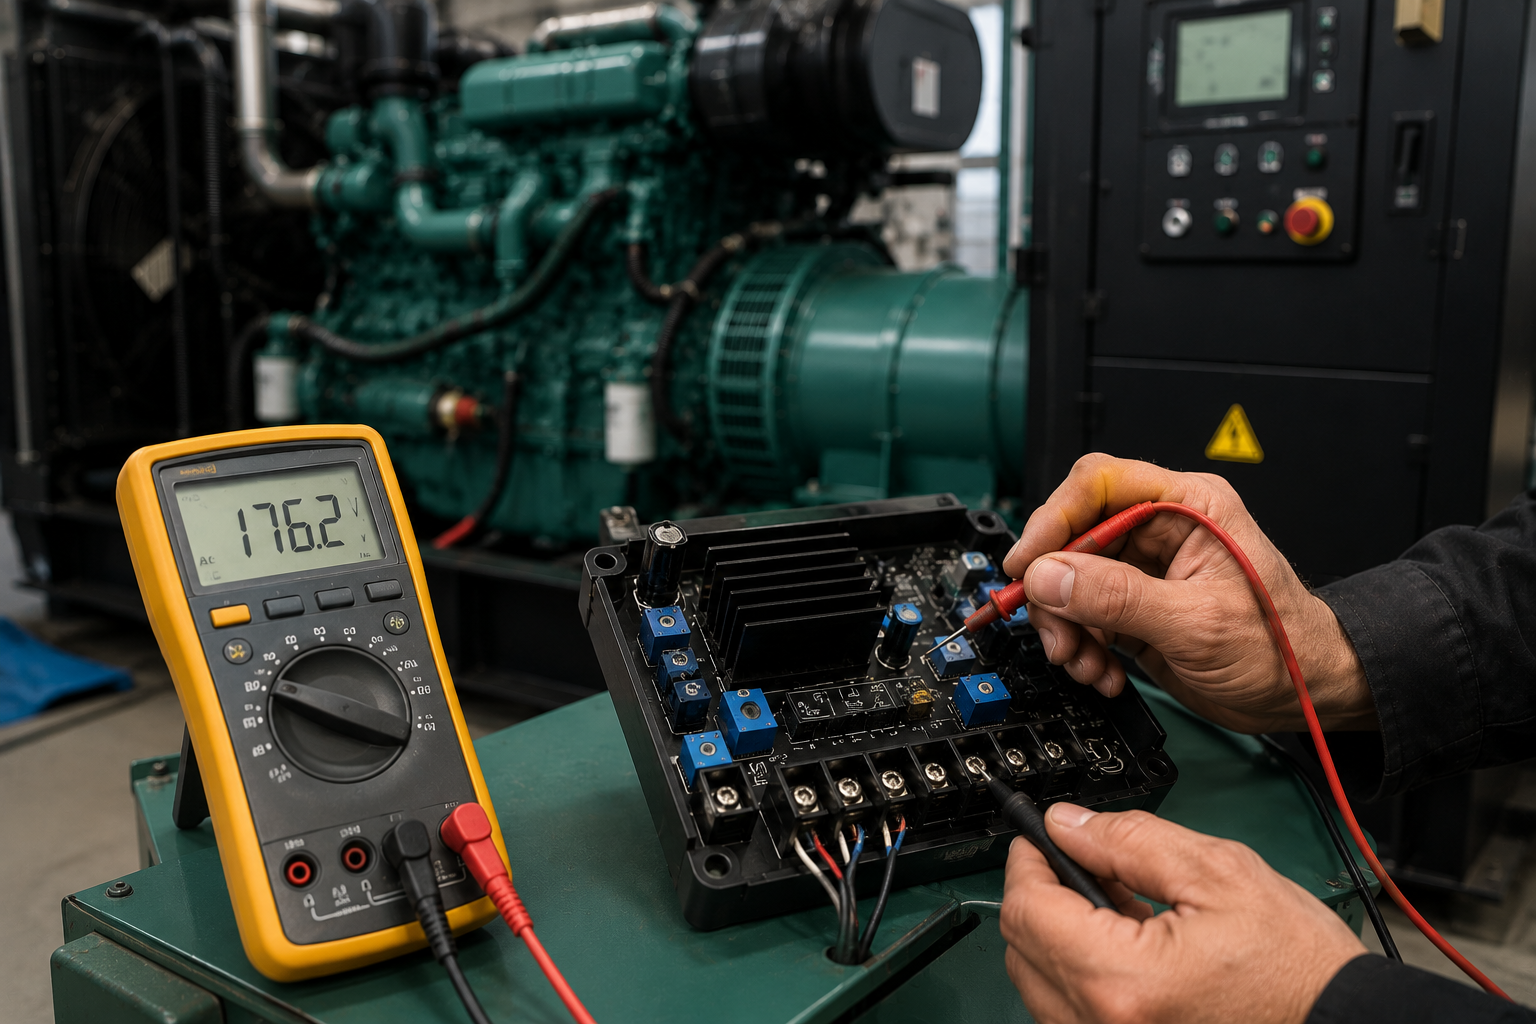
Don’t trust an old analog needle on the generator panel. Use an external True-RMS digital multimeter to measure the main output terminals directly. Check the correct terminal connections (line-to-line and line-to-neutral) and test each phase on three-phase equipment.
Step 2: Remove the Load
Disconnect all connected facility equipment by opening the main breaker. Restart or stabilize the generator. Measure the no-load voltage and frequency to determine whether the fault exists within the generator itself or only shows up once the building load is added.
Step 3: Check Engine Speed and Frequency
If there is no load applied, compare the frequency to the rated frequency (either 50Hz or 60Hz). Pay attention to an unstable or rapid change in speed. If it’s low, check for fuel restriction, governor linkage issues or engine starvation.
Step 4: Check the Total Connected Load
If the voltage decreases only when the breaker is closed, determine your running watts. Take into account the enormous starting current of heavy motors. To check if the current (amps) is much higher on one phase than the other, measure using a clamp meter on each leg. Cummins troubleshooting guidance urges immediate reduction of facility load when wattage or current load is above the generator’s capacity and recommends measuring loaded voltage.
Step 5: Inspect Breakers and Output Connections
Inspect the main breaker, physical output connectors, neutral connection, voltage selection switch, terminal configuration connections, transfer switch and extension wiring. Look for burned, melted or loose connectors that cause severe voltage drops.
Step 6: Inspect AVR Sensing Wires
The AVR has no control over that which it cannot see. Confirm that the thin sensing leads are securely connected to the main stator output. Check for corrosion, damaged insulation or damaged terminal plugs. Ensure that the sensing wires are plugged into the correct terminals and check the remote voltage control dials if they are installed on your panel.
Step 7: Check the AVR’s Physical Condition
Visually inspect the AVR board. Check for burnt black parts, a broken circuit board, bulging capacitors, melted epoxy, water or loose pin connectors or signs of previous improper repair work. Keep in mind that a visual inspection is not enough to determine whether an AVR has failed.
Step 8: Check Whether the AVR Responds to Adjustment
Note the original setting of the VOLT trimmer. Change it very slightly as per the instructions given in the manual. Observe the output voltage’s reaction. If there is no clear result, place the control back in the same position as it was before. Do not over-excite the device to compensate for a concealed inbuilt fault.
Step 9: Test Excitation Supply and Output
Disclaimer: These tests are performed with live and hazardous voltage and should be done by a registered generator technician. A technician will check the AVR input supply voltage, the AVR sensing voltage and the output voltage of the AVR DC field (labeled F+ and F-). This is the distinction between an AVR that gives no output and an alternator that is fed with the full amount of excitation but fails to produce power.
Step 10: Test the Alternator Components
If the AVR is sending power but the voltage is still low, then a technician should conduct static tests with the engine off. These consist of measuring the resistance of the main stator winding, main rotor winding, exciter stator winding, exciter rotor winding, rotating rectifier diodes, insulation resistance to ground (megger testing) and brushes and slip rings if applicable.
Conclusion
Diagnosing low voltage on a generator is a process of elimination and should always be done in order, from engine frequency to mechanical performance, facility loading to external wiring, AVR operation and physical condition of the alternator. Frequency and mechanical horsepower directly dictate electrical output, so it is necessary to consider the generator as one whole and complete system.
Without carrying out these basic tests first, replacing the AVR due to low voltage will often be a waste of money and the real problem will not be solved. Always start with the easiest external causes first.
Contact the Huaquan team today for professional electrical testing, AVR replacements, and comprehensive alternator diagnostics to restore your facility’s backup power.