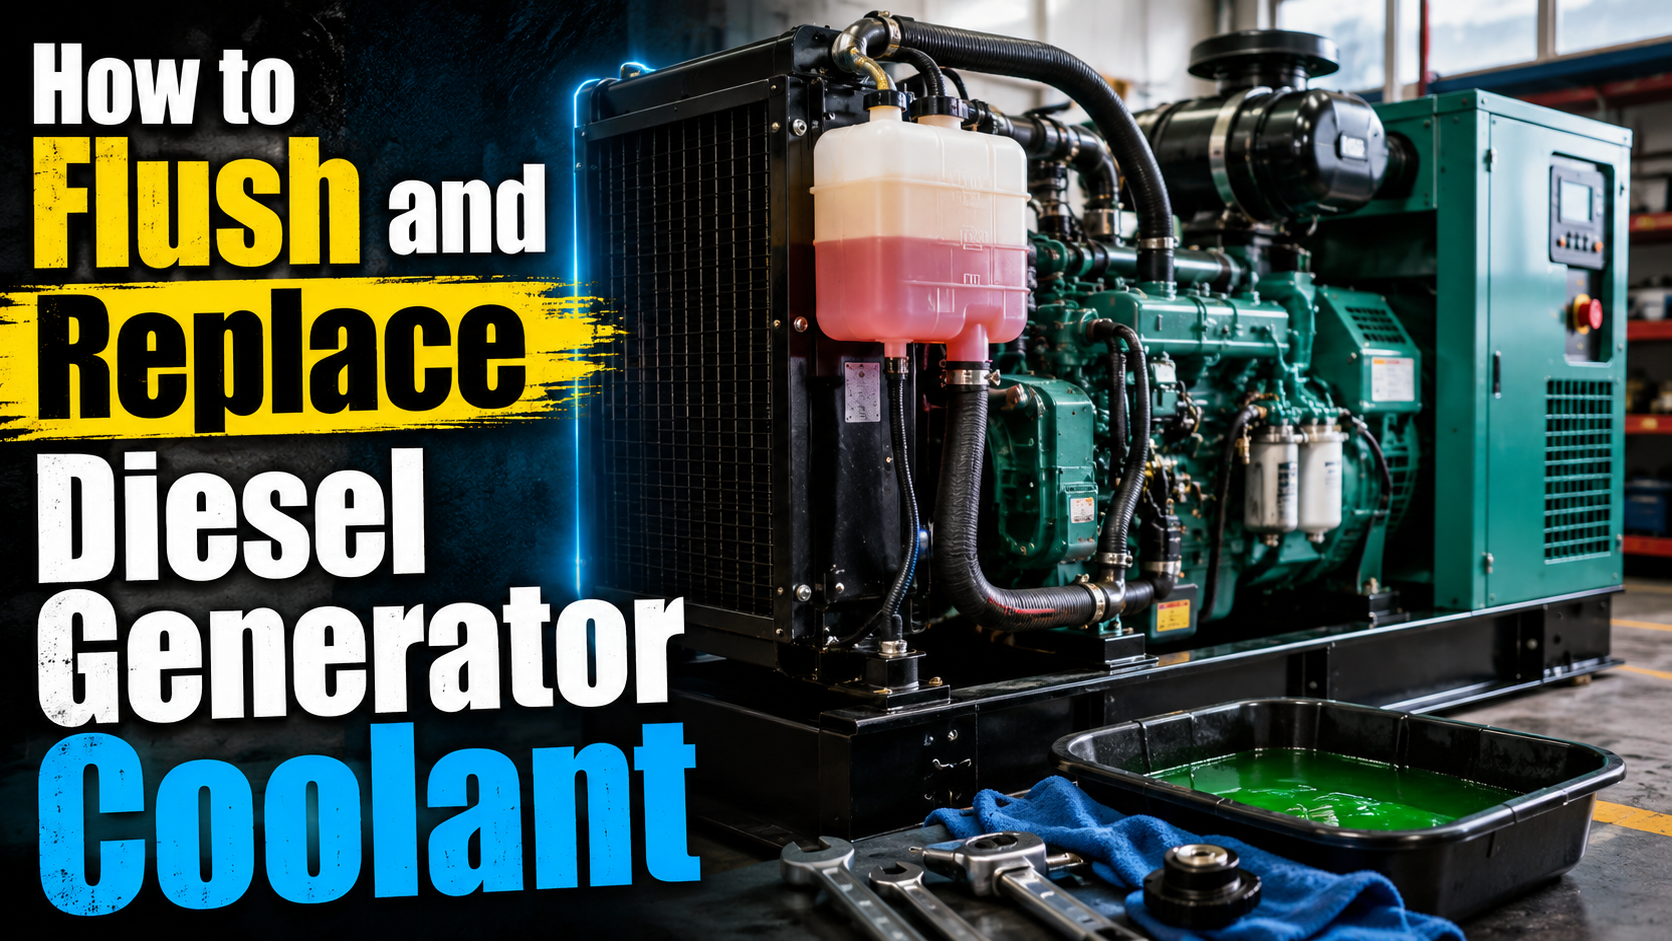
Keeping a diesel generator cool is one of the most important yet often forgotten maintenance steps. An industrial diesel engine runs quite hot. Lacking chemically balanced generator coolant, the engine will quickly overheat, warp and destroy itself within minutes of starting.
Coolant will chemically deteriorate over time. The protective additives break down and allow the radiator and engine block to corrode from rust, scale and acidity. Old or contaminated coolant loses its ability to prevent freezing in the winter and loses its ability to prevent boiling in the summer, when the engine needs protection most. A regular flushing and replacement schedule ensures proper engine protection and performance during backup power situations.
In this article by Huaquan, you will learn the step-by-step process to safely drain old fluids, properly flush scales from the engine block, and select the correct coolant to keep your diesel generator from overheating.
What Does Generator Coolant Do?
The coolant for Generators is typically a 50/50 mixture of antifreeze and distilled water, and it has several important purposes other than cooling.
- Transfers heat away from the engine: Absorbs heat from the cylinder block and dissipates it through the radiator fins.
- Protects the cooling system from corrosion: Chemical inhibitors prevent the tubes in the radiator (usually aluminum or copper) from corroding.
- Prevents freezing in cold weather: Water will not expand and break the engine block in cold weather when antifreeze is used.
- Raises the boiling point of the cooling fluid: Pressurized coolant will not boil at 212 degrees Fahrenheit, so the engine won’t overheat.
- Lubricates water pump seals and cooling components: Reduces friction within moving parts and helps prevent premature water pump failure.
When Should You Replace Generator Coolant?
Never exceed the manufacturer’s maintenance schedule in the operation manual. That said, general industry guidelines suggest:
- Calendar-based replacement: Every 2 to 5 years, irrespective of use, because the chemical rust inhibitor expires over time.
- Operating hours: Once every 2,000 to 4,500 running hours.
- Severe-duty conditions: If the ambient temperature in the area is hot, or if the atmosphere is dusty, more frequent flushing may be required.
- Emergency standby generators: If a generator operates infrequently and is on standby, it’s still important to replace the fluid on schedule, as the fluid deteriorates into an acid when it is not in use.
Note: Coolant testing between changes is very important. During routine maintenance, a rapid check using a hydrometer or test strip will provide an early warning if the pH or freeze protection has been broken.
Signs Your Generator Coolant Needs to Be Changed
Don’t wait for a catastrophic failure. Check for these signs:
- Dirty, rusty, cloudy or milky/oily coolant signifying a serious internal leak.
- Normal electrical loads causing the engine to overheat.
- Low coolant warning on digital control panel.
- A large amount of sediment, sludge and/or scale in the radiator neck or expansion tank.
- A sweet, syrupy or unusual burning smell around the generator.
- Frequent, unexplained need for coolant top-ups.
- Hydrometer test results indicate poor freeze and boil protection.
- Test strips that read out of range for pH or used-up additives.
What Type of Coolant Should a Diesel Generator Use?
Coolants are not one-size-fits-all. The improper application can ruin your engine.
- Conventional coolant: Standard green antifreeze that is changed periodically and must be topped up manually.
- Extended-life coolant (ELC): Designed to be used for a longer period of time, typically up to 5 years.
- Organic Acid Technology (OAT) coolant: Provides better corrosion protection over an extended period of time without the use of silicates or phosphates.
- Hybrid Organic Acid Technology (HOAT) coolant: A combination of both OAT and conventional, typically used in modern heavy-duty diesels.
Premixed versus concentrated coolant: Premixed coolant is ready to pour. Concentrated requires distilled water to achieve the proper ratio of water to coolant, which is typically 50/50.
Why ordinary tap water may cause scale and corrosion: Do not use tap water. It has high mineral content (calcium and magnesium), which will harden on the hot walls of the cylinder, forming an insulating layer that will lead to local boiling and cracking.
Why different coolant types should not be mixed: Combining incompatible coolants, such as OAT and conventional, will result in a chemical reaction that leads to a thick gel-like sludge that will clog the radiator. Always check the generator manufacturer’s specification before purchasing.
Tools and Materials Needed
Prepare everything in advance to avoid stopping midway.
- Manufacturer-approved generator coolant.
- Distilled or deionized water for flushing and mixing.
- A large drain pan to collect all the fluid.
- A clean funnel.
- Protective gloves and eye protection, since coolant is toxic and caustic.
- Basic hand tools: wrenches and pliers, for drain plugs and hose clamps.
- Cooling-system chemical cleaner (only approved and required when serious rusting occurs).
- Clean, sealable containers for recycling the old fluid.
- Shop towels.
- A coolant tester or refractometer.
Safety Precautions Before Flushing Generator Coolant
Safety is paramount here. Hot coolant will cause serious burns.
- Shut down the generator.
- Allow the engine to cool: Wait a few hours. Do not open a hot radiator cap as the system is under pressure and will explode.
- Disconnect the starting battery or disable automatic start: Ensure that the unit will not start up when working.
- Use appropriate personal protective equipment: Safety glasses.
- Keep coolant away from children and animals: Ethylene glycol is sweet-smelling, but it is poisonous and deadly if swallowed.
- Follow local coolant disposal regulations: Do not dump coolant on the ground or down a storm drain. Bring it to a recycling facility.
How to Flush and Replace Diesel Generator Coolant
Step 1: Review the Generator Manual
Before touching a wrench, check your system’s total coolant capacity and buy enough fluid. Know the approved specifications of the coolant and find all the drain plugs for the engine block, radiator and air-bleed points.
Step 2: Disable Automatic Starting
Turn the digital controller to OFF. Disconnect the battery charger if needed and safely remove the negative cable from the starting battery.
Step 3: Allow the Engine to Cool
The system has to be depressurized for safe radiator-cap removal. Press down on the cap with a thick rag and turn it to release any remaining pressure before removing it.
Step 4: Inspect the Existing Coolant
While uncapping, inspect the color and smell of the fluid. When the sludge is heavy or the oil is thick, it looks similar to a chocolate milkshake and is an indication of internal engine issues such as a blown head gasket that cannot be corrected with a flush.
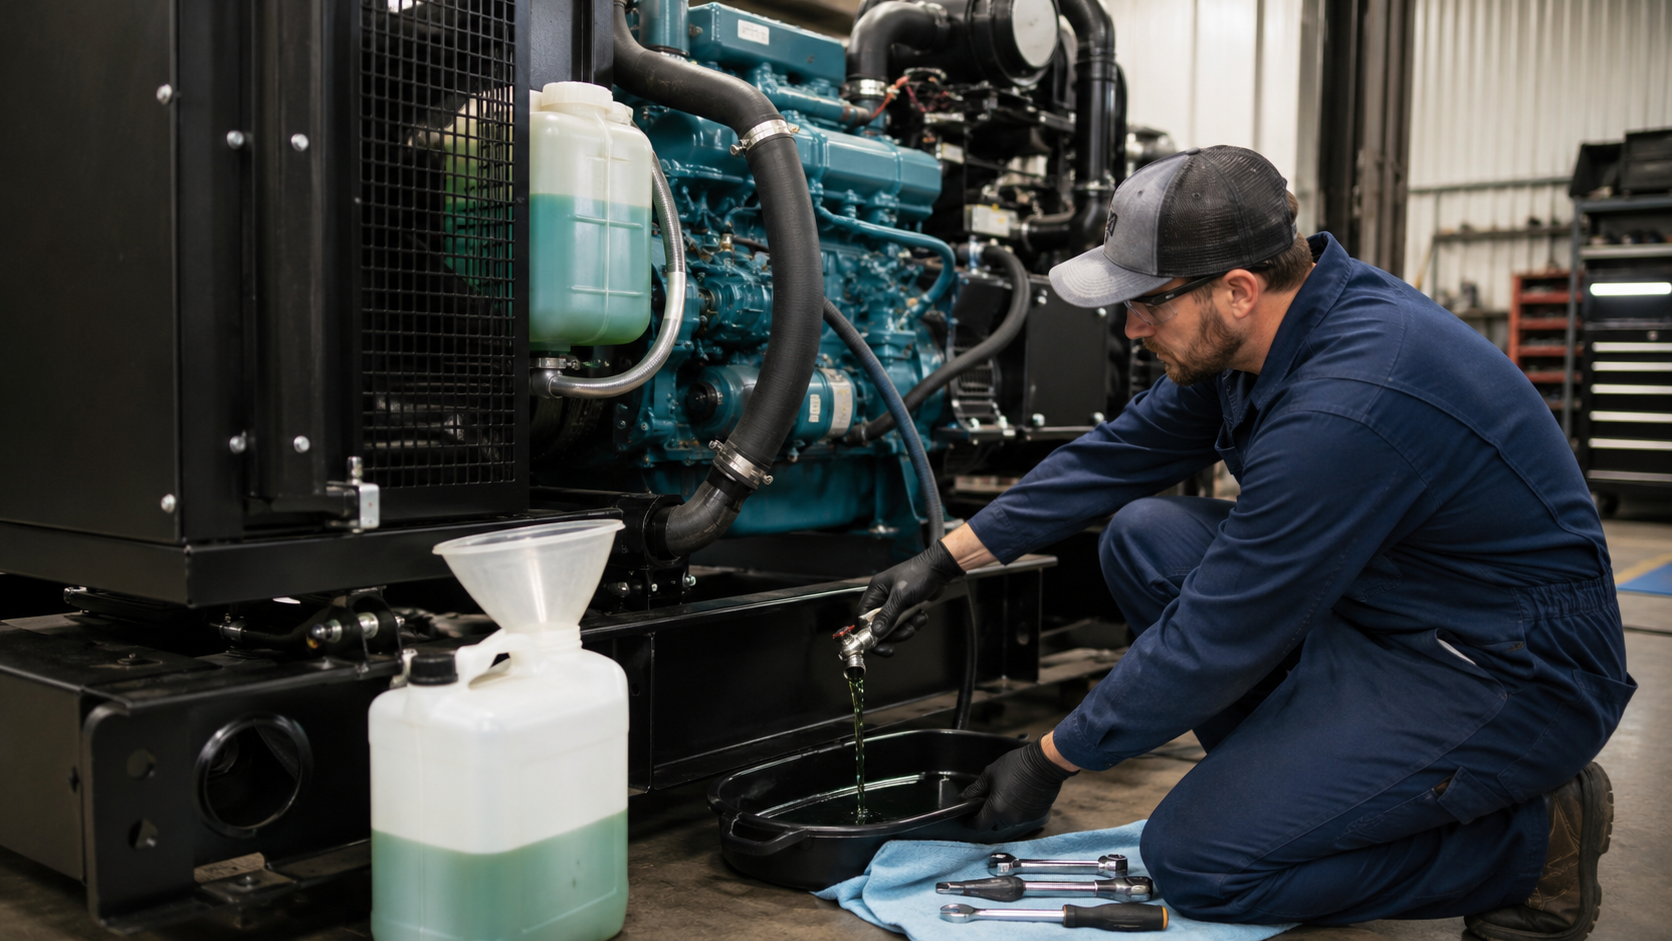
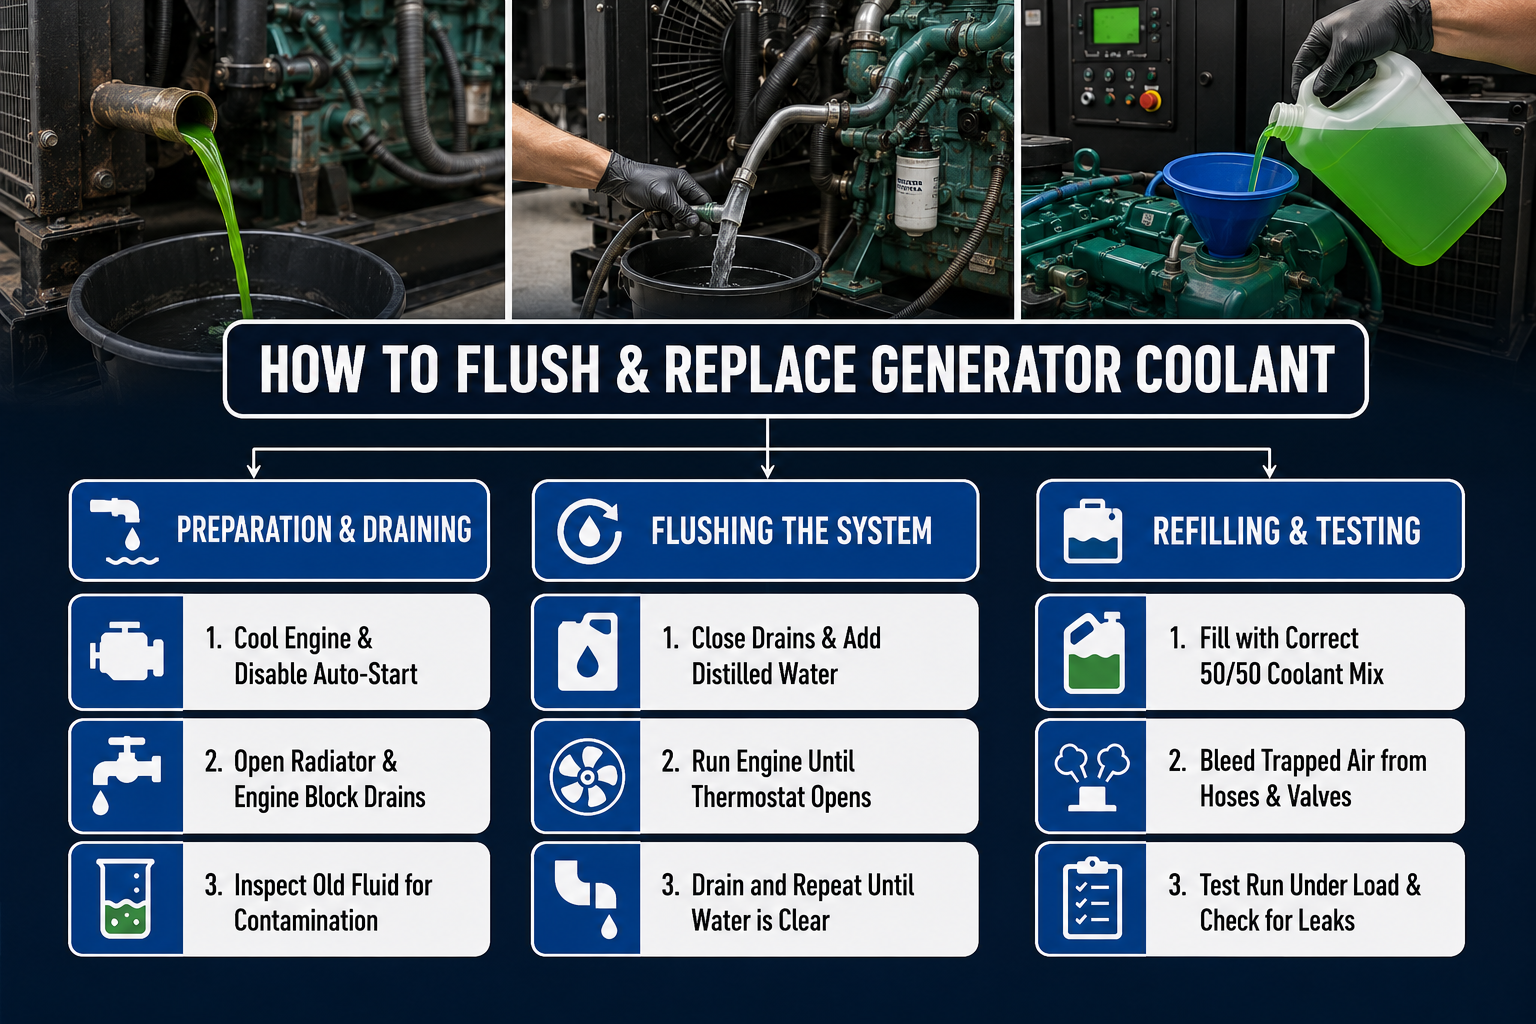
Step 5: Drain the Old Generator Coolant
Position a large drain pan. Open the valve (petcock) at the bottom of the radiator. Then open the engine-block drain plug (if equipped) to release fluid held in the water jacket. Drain the plastic expansion tank. Be careful to avoid big spills inside the generator enclosure.
Step 6: Flush the Cooling System
Close all drains. Fill the system with distilled water only. Turn the generator on, warm it up until the thermostat opens (usually 15-30 minutes) and circulate the water. Shut off, let the engine cool, and drain flushing water. Repeat until the discharged water runs clear.
Note: heavily rusted systems may need a specialized chemical cleaner during the first flush, following the product’s instructions.
Step 7: Inspect Cooling-System Components
While the system is empty, visually inspect:
- Radiator hoses: Squeeze them; they shouldn’t feel crunchy, soft or bulging.
- Clamps: Make sure they’re tight and not cutting into the rubber.
- Radiator cap: Check the rubber seal for cracking.
- Water pump: Look for weeping stains out of the bottom hole.
- Belts: Check for fraying or looseness.
- Replace the thermostat preventively during the system’s draining, if needed.
Step 8: Refill With New Generator Coolant
Close all drain plugs. Using a funnel, pour in the approved 50/50 coolant mixture slowly. Pouring too fast traps air deep in the engine block. Do not overfill and fill the plastic expansion tank to the Cold Max line.
Step 9: Bleed Air From the Cooling System
Air trapped in the cooling system creates hot spots that cause localized boiling and overheating.
- Open all the approved air-bleed screws on top of the engine block.
- Massage the thick radiator hoses to release trapped air.
- With the radiator cap removed, start the engine until it is warm and check the level of the coolant.
- Watch for air bubbles escaping the radiator neck. Top off the fluid as the level drops.
Step 10: Run and Test the Generator
Replace the radiator cap. Bring the generator up to normal operating temperature under a moderate load, check the digital temperature readings and inspect all hoses and drains for leaks. Shut down, let it cool overnight and recheck the cold coolant level the next morning.
Common Mistakes to Avoid
- Opening the radiator when hot: Danger of severe burn.
- An improperly used coolant: Damages engine seals.
- Using incompatible coolants: Causes sludge to build up in the radiator.
- Use of hard tap water: Results in mineral scale that is insulating and can cause engine kill.
- Failing to drain the engine block: Keeps 30% of the old, acidic coolant in the system.
- Trapping air in the system: Ensures instant overheating.
- Overfilling the expansion tank: Results in boiling coolant spilling over onto the floor.
- Forgetting to fix the small leaks: A small leak will cause the system to leak over time.
- Dispose of used coolant incorrectly: It’s illegal and harmful to the environment.
What to Do If the Generator Overheats After a Coolant Change
If the high-temperature alarm sounds immediately after your service, turn it off.
- Look for trapped air; the system was likely not bled properly.
- Check thermostat installation; if it was replaced, ensure it is in the correct direction.
- Check coolant level: This could be due to an air pocket that has “burped” out of the system.
- Inspect the radiator cap: If it is faulty, it cannot maintain pressure, reducing the boiling point.
- Check the water pump and drive belt: Ensure that the pump is rotating.
Conclusion
Maintaining the generator coolant isn’t just about preventing freezing; it’s about protecting an expensive industrial engine from destruction. Safe draining, thorough flushing, the correct manufacturer-approved fluid and proper air bleeding keep your system cool under the heaviest electrical loads.
Schedule regular inspections of cooling equipment and fluid changes of your generator on a calendar basis, and you will keep your generator ready when the power goes out.
Contact the Huaquan team today for professional cooling system maintenance, safe chemical disposal, and heavy-duty generator servicing.