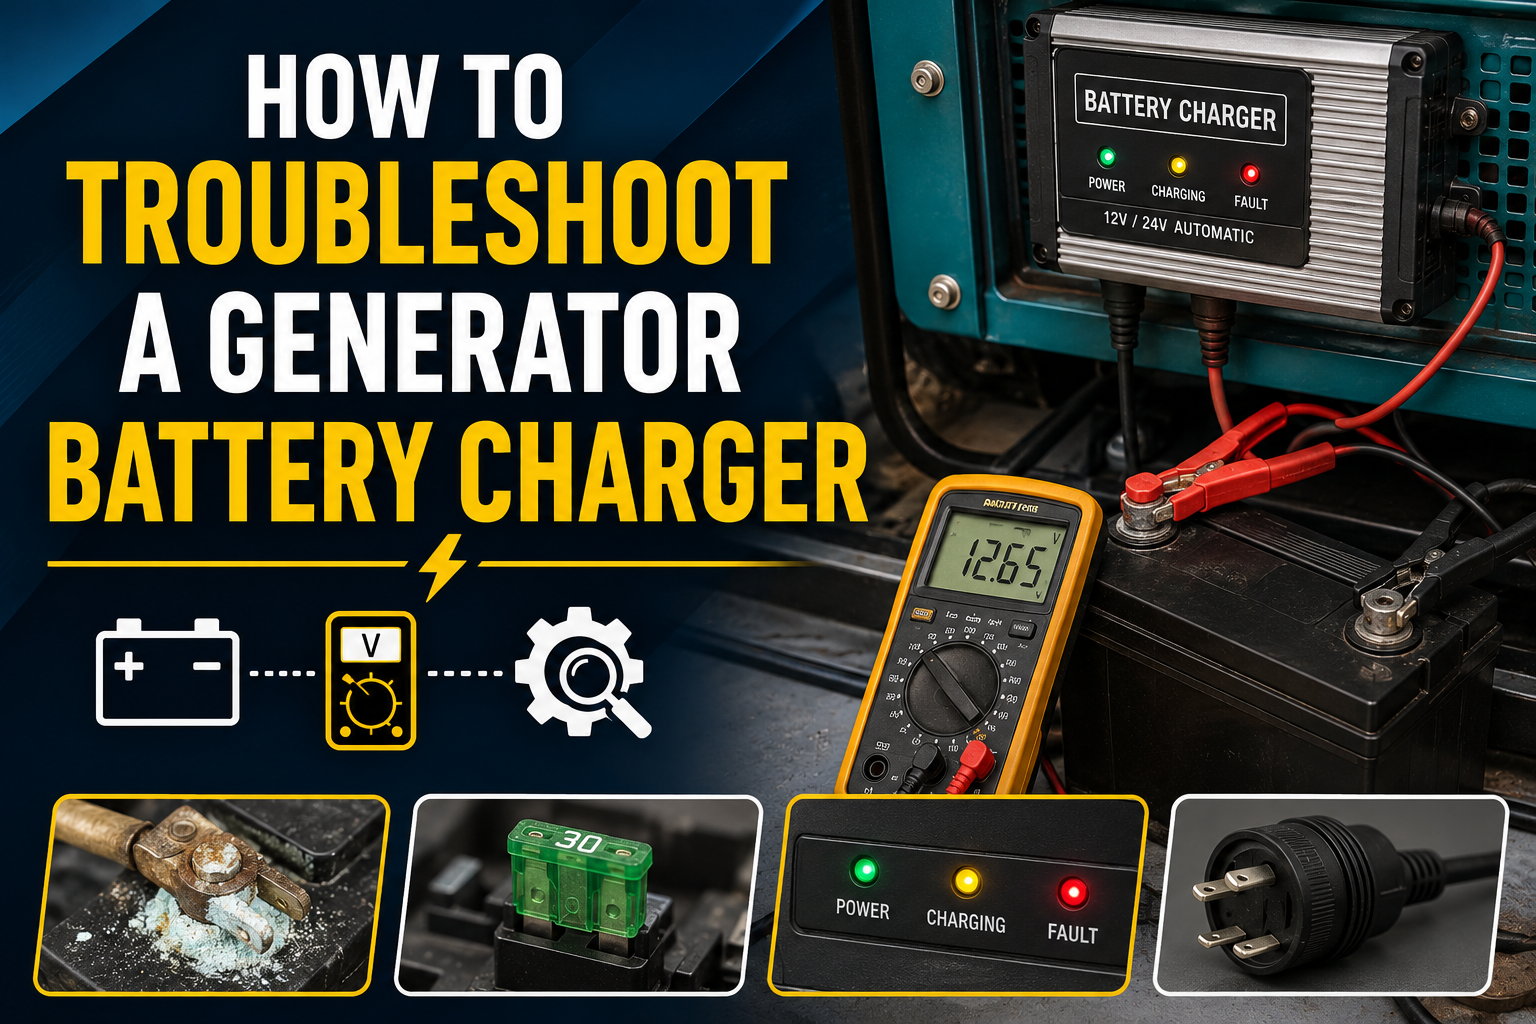
Most people never think about their generator battery charger until the power goes out and the generator sits there clicking instead of roaring to life. Honestly, it’s one of the most under-used aspects of a standby power system, but perhaps the most essential when it comes to emergency preparedness. Standby diesel Generators remain idle for a few weeks or months. If the charger isn’t doing its job keeping the starting battery topped off, the generator won’t crank the moment an outage hits.
Here’s the tricky part. There is some know-how in distinguishing a failing charger from a dying battery. A charger can deliver a good, solid 14-volt charge, but a bad cell inside the battery will still result in no start. A healthy battery will eventually go dead too if the charger fails to receive AC input or a fuse blows. This guide will help you diagnose your system safely and quickly.
In this article by Huaquan, you will learn how to systematically test your generator’s battery charger, distinguish between a battery failure and a charger failure, and safely resolve common charging issues before an emergency strikes.
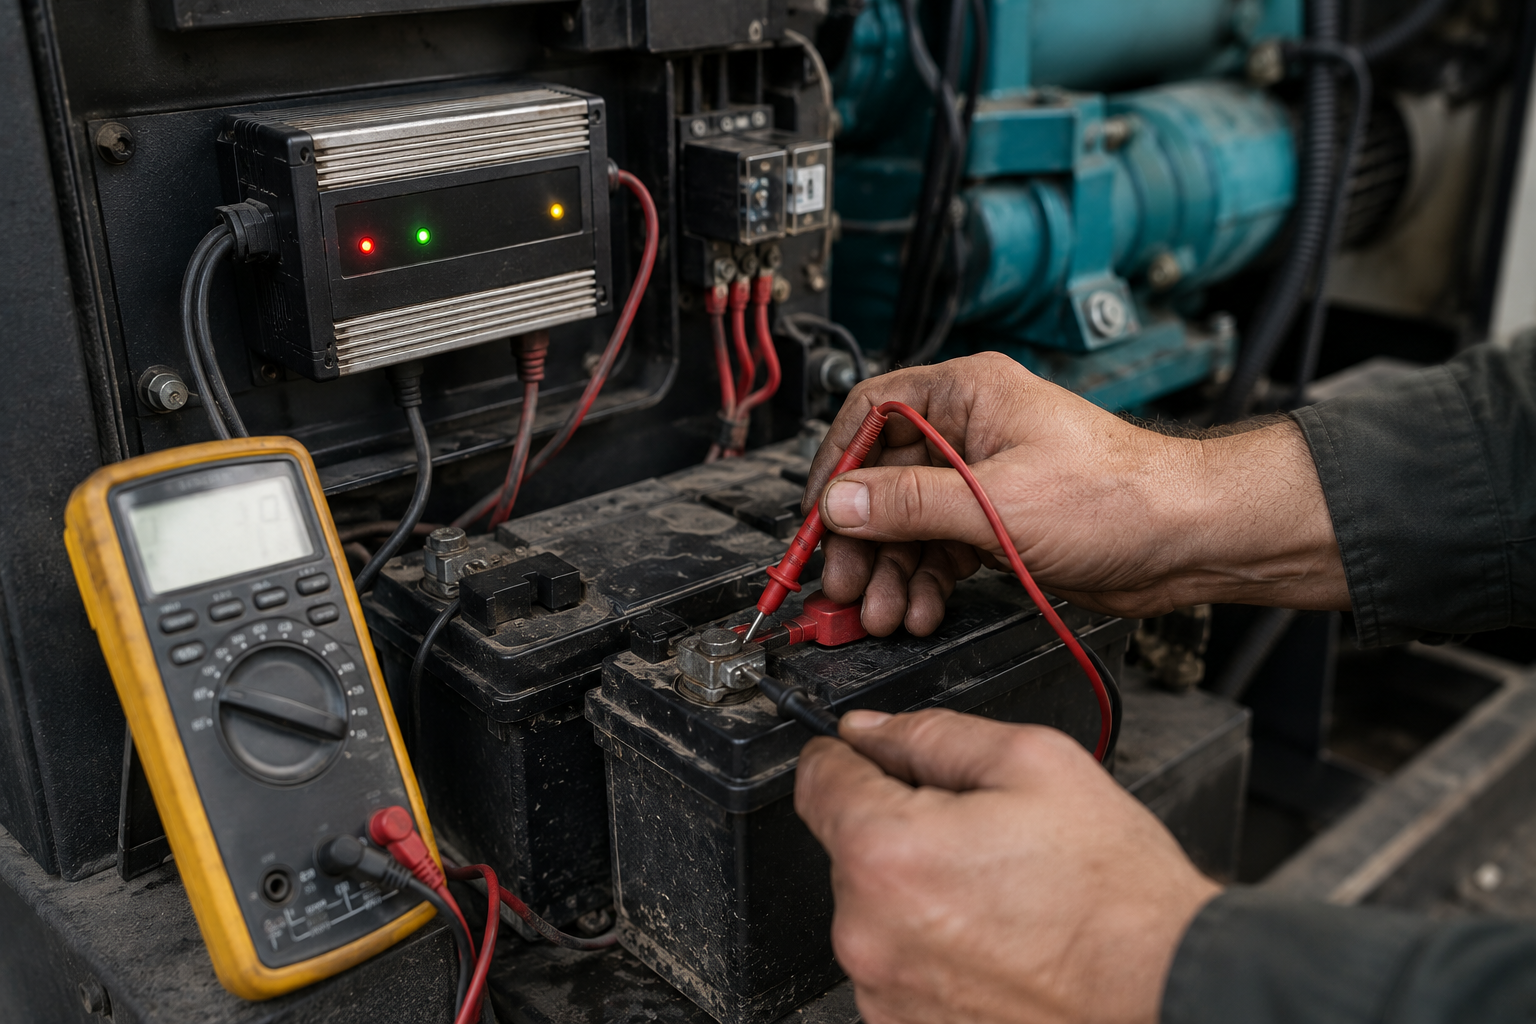
What Does a Generator Battery Charger Do?
A generator battery charger is a busy component performing several functions and each one is important.
- Maintains starting batteries, compensating for self-discharge when the generator is not in use.
- Supplies float voltage, keeping the battery at a healthy level without cooking the electrolyte.
- Supports controller loads, feeding low-level power to the digital controller, sensors and monitoring equipment.
- Prevents sulfation, keeping lead sulfate crystals from destroying lead-acid batteries.
Types of Generator Battery Chargers
- Onboard controller charger, incorporated into the generator’s primary controller.
- Standalone charging box, mounted near the generator, outside the main unit.
- Float charger, staying connected around the clock to hold a constant voltage.
- Trickle charger, a low-current unit that charges the battery slowly and steadily.
- Multi-stage charger, alternating between bulk, absorption and float phases.
Signs of a Generator Battery Charger Problem
Suspect a charging problem the moment you notice any of these signs.
- A “Low Battery” or “Charger Failure” alarm appears on the controller.
- During a test cycle, the generator cranks slowly and hesitantly or fails to start altogether.
- No matter what, the battery voltage on the control panel stays low.
- The battery feels hot and gives off a rotten-egg sulfur smell, a sign of overcharging.
- Visual trouble appears on the charger, such as a dead display or flashing error codes.
- The charger’s fuses keep blowing repeatedly.
- The terminals become heavily corroded, a sign that the charging profile is off.
Battery Charger Problem or Bad Battery?
A lot of people find this confusing. Make sure you complete these checks before replacing any parts.
- Check Battery Age. If the battery has been in service more than three or four years, it’s probably the culprit regardless of what the charger is doing.
- Open-Circuit Voltage. Disconnect the charger and test the battery on its own. A healthy 12V battery should read around 12.6V. Anything below 12.2V means it’s undercharged or nearing the end of its life.
- Load Test. A battery can be good at 12.6V but still have very little cranking amps. Grab a load tester and check it under a simulated starting load.
Tools Needed for Troubleshooting
- Digital Multimeter, preferably True-RMS, to check voltage and continuity.
- Clamp Meter, to measure the real charging amperage.
- Battery Load Tester, to verify actual capacity.
- Insulated Hand Tools, to safely work with battery cables.
- Battery Terminal Brush, to scrub off corrosion.
- Manufacturer’s Wiring Diagram, to confirm the correct input and output points.
Safety Precautions
Safety comes first here, no matter what.
- Turn the controller to “Off” or “Manual” mode to prevent it from cranking while your hands are near the battery.
- Wear eye protection, since batteries release hydrogen gas and acid.
- No sparks. Keep cigarettes, lighters and loose metal tools away from the terminals, since a short circuit here can make the battery explode.
- Use insulated tools to avoid shorting the battery posts.
- Ventilate the space, making sure the generator room has fresh air.
How to Troubleshoot a Generator Battery Charger
Step 1: Check Charger Indicators and Alarms
Look at the charger’s front panel. Are the power lights lit? Any red fault lights? Check your controller screen for error codes like “Battery Charger Failed” or “Low DC Voltage.”
Step 2: Confirm AC Input Power
A charger can’t work without power feeding it.
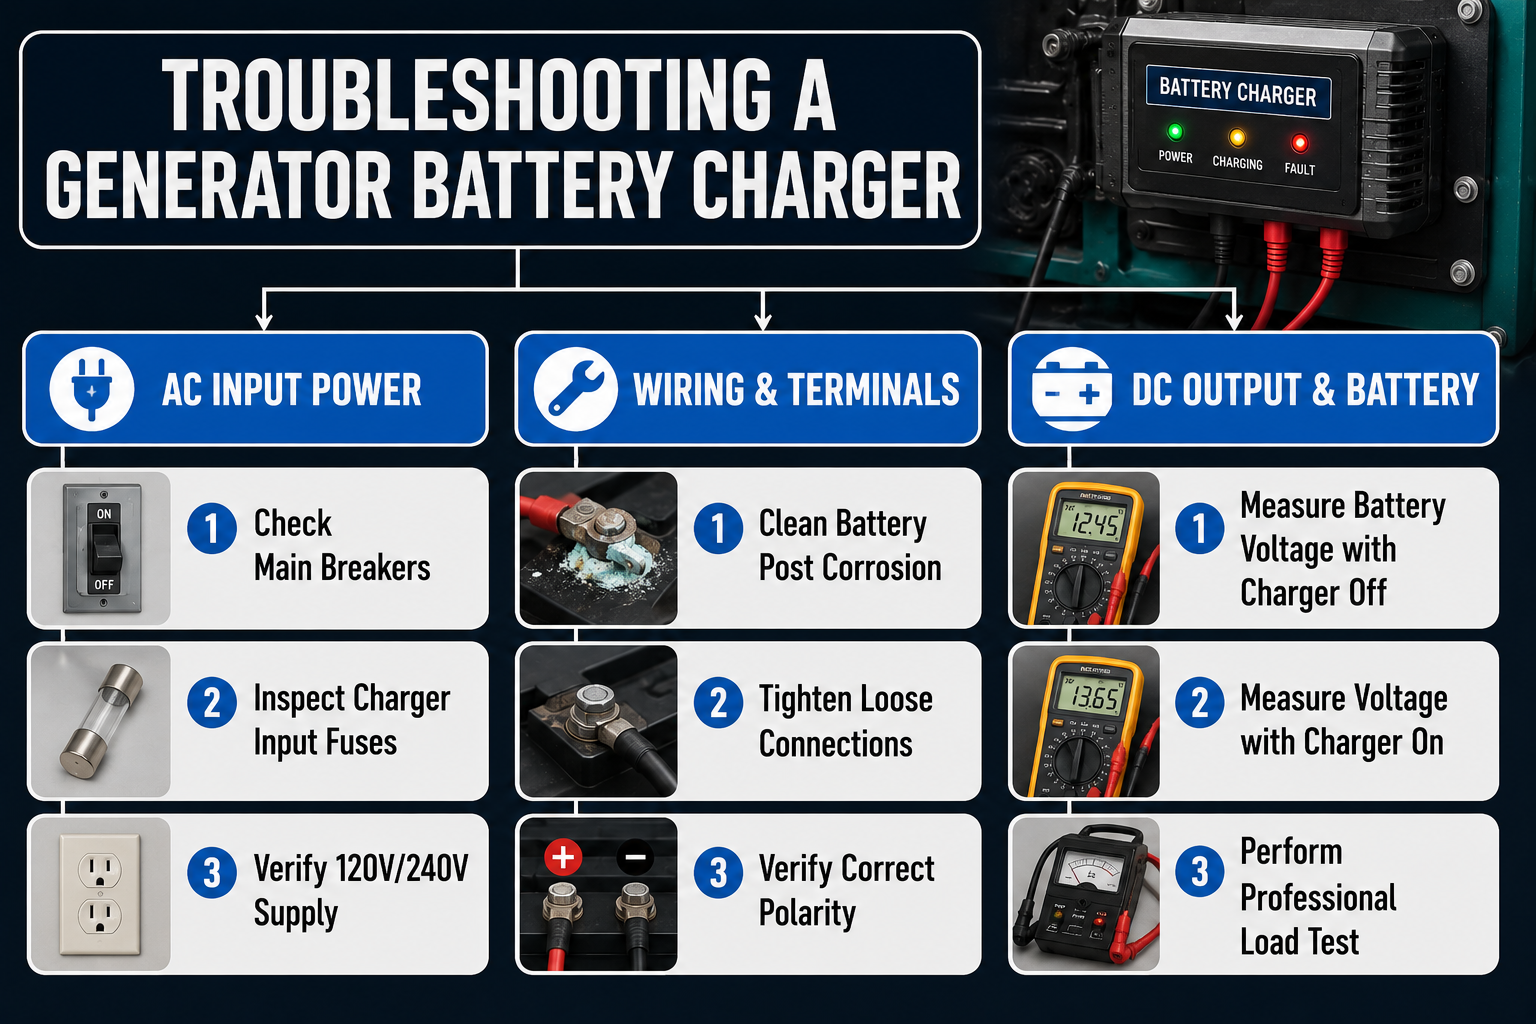
- Check the dedicated circuit breaker at your electrical panel.
- Check the charger’s input fuses.
- Grab your multimeter and confirm AC voltage, 120V or 240V, reaches the input terminals.
Step 3: Inspect Charger Wiring
Trace the wires from the charger to the battery. Watch for insulation that’s brittle or melted, loose connections and scorched terminals. Also double-check polarity: positive to positive, negative to negative.
Step 4: Inspect Battery Terminals and Cables
Corrosion is the number one enemy here. Look for white or blue powder on the terminals, pull the cables, scrub the posts with a wire brush and reconnect everything. Keep the ground connection from the battery to the frame clean and snug.
Step 5: Measure Battery Voltage With the Charger Off
Unplug the charger, or turn off the AC input circuit breaker. Wait about ten minutes, then check the voltage. If it’s below 12.4V on a 12V system, the battery is either discharged or damaged.
Step 6: Measure Charging Voltage
Switch the charger back on. The voltage at the terminals should climb, typically landing between 13.2V and 13.8V for a 12V system. Check your manual for the exact float specification. No movement means the charger isn’t putting anything out.
Step 7: Measure Charger Current
Set your clamp meter to DC amps and clamp it around the positive output wire. A healthy charger shows the current tapering off over time. If the battery started out dead, it may draw a high current at first that gradually eases to zero as it charges. Zero current with a low battery means a dead charger.
Step 8: Check Charger Output Fuses
No DC output voltage? Check the internal output fuses next. Don’t just replace a blown fuse and move on. Inspect the DC wiring for a short circuit first, or confirm the battery isn’t dead shorted before powering back up.
Step 9: Load Test the Starting Battery
A battery can show decent surface voltage and still fail once it’s under real load. Break out a load tester and apply a temporary high current draw. If the voltage drops fast, it’s a sign of internal failure and the battery needs replacing, even if the charger is in good shape.
Step 10: Test the Charger Without Misdiagnosing It
Confirmed input power, checked the fuses and the output voltage still reads zero? The charger’s built-in electronics have likely failed.
Conclusion
Usually when a generator is dead, it’s because the battery has died, and a dead battery virtually always comes from a charger that stopped doing its job. Work through the AC input, the wiring and the DC output and you’ll solve the majority of issues in less than an hour. Treat the charger and battery as separate units. Test them independently and keep logs to catch problems before they cause a no-start emergency.
Looking for help fixing charger faults? Call our generator technicians today for testing, battery bank replacement and professional charger installation, so your standby power is ready whenever the grid goes down.